Monday, June 21, 2010

Made a new fairing for my roofrack

Well, last Tuesday i went over to John's shop to borrow his sandblaster. I had a unique idea for a wind fairing for my home built roof rack. I wanted to take some old license plates, sand blast them and rivet them together to create a solid single piece. I'm planning on painting it black once its finished.

After I sandblasted the plates, they came out with a really cool distressed texture, which I'm thinking of leaving as-is... we'll see.


John had some scrap stainless that we cut & bent to fit. We both strained quite a bit trying to get the holes drilled.

it took a few tries to get everything to fit correctly.


The finished product!

Sunday, May 30, 2010

Friday, May 14, 2010

Random pics from random meets

I thought i'd post some random pics from the past meets i've hosted at the shop.


This one was taken in my driveway after washing the car.


Monday, March 8, 2010

Lunch


IMG_0618
Originally uploaded by CondorSpeedShop

Grabbing lunch in Clearwater before the 270 mile drive home.

Sunday, March 7, 2010

Waitin'


IMG_0716, originally uploaded by CondorSpeedShop.

I shot this today at my shop with my new iphone app... you going to see a lot more pics like this one.

Sunday, February 28, 2010

Suspension update #2

I haven't been happy with the front ride height of my car for a while now. It's set at its lowest setting, and still had about an inch of wheel gap in the front. I took this weekend to rebuild the front suspension. Basically I wanted to give the front another inch of ride height adjustability. I took everything off the car and disassembled front the struts.

I ground down the current spring perch.


I then sanded off all the paint in preparation for the tig welding


I cut some small 1/2" sections off a piece of 2" pipe john had in his scrap bin.


After measuring, I lined everything up and  using john's TIG welder I welded the new spring perches on.

In process.(thanks to my buddy chris for all the action shots. you can visit his photo stream here: http://www.flickr.com/photos/ocell/)


Finished and ready to install.


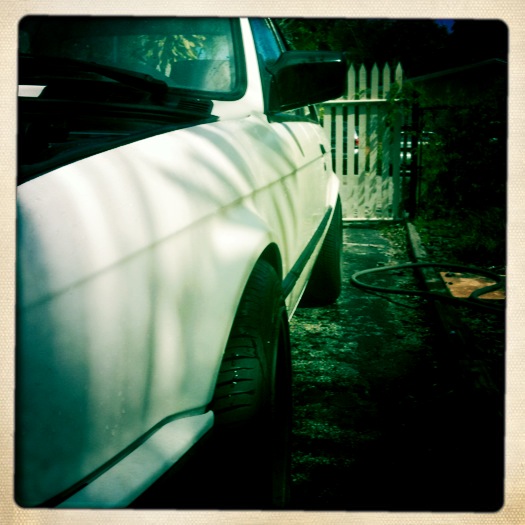
I'll be driving up to Clearwater Beach on Tuesday, so I wanted to make sure the car was tip top. I cleaned the engine bay, drained the coolant and replaced a cracked plastic coolant hose buried deep in the engine bay below the intake manifold.


It took a couple hours, but it's all ready to go.

Sunday, January 17, 2010

Fresh pics*


My buddy Chris is one hell of a photographer. We went out on Saturday and he took these pics of my 318is. I've spent less than $1500 on the car, including the purchase price. I bought it wrecked. You can check out my build at [URL]http://www.rede30.blogspot.com[/URL]. Check out Chris' Flickr photostream at [URL]http://www.flickr.com/photos/ocell/[/URL] and his site [URL="http://www.ocell.net/"]www.ocell.net[/URL]

Saturday, January 9, 2010

From rat to rad!

I painted the rear of the car first, over my Thanksgiving vacation. I didn't have time to prep and paint the front end until Christmas vaca. The good thing was, I was able to remove all the panels that needed to be painted and paint them off of the car, fortunately I had a spare hood off an old parts car that kept my motor dry while I deove it like this.... A pic of my shop as I wait for a painted fender to dry some before placing it i the sunlight. Almost everything is painted and curing under the warm Florida sun. I let everything dry overnight before I assembled it the next day. I think it turned out really nice. All i have left to do is paint the rocker panels black, and finish installing my interior. I have a buddy whos a photographer and were going to do a photoshoot of the finished car in the near future.

Tuesday, January 5, 2010

Shaving the antenna hole

The first thing I did was remove the antenna and all its internals. I spliced a short cable from the antenna to the rear window defogger. I then found a piece of scrap metal... and cut it to fit over the hole. I used my grinder to clean the paint off the metal, and I then welded the patch panel on. The next step was to cover the area with a paper thin coat of bondo, and sand it smooth. I took advantage of repairing all of the other small nicks and dents on the entire panel while i was at it. Once the panel was ready I sprayed a generous coat of primer. Stay tuned to see how the car turned out.